Pulling on the lead is the most common complaint owners have about walks, and it is rarely about dominance or stubbornness. Dogs pull because it works. Every time the lead goes tight and you keep walking, your dog learns that leaning into the harness moves them closer to the interesting thing ahead.
Key takeaways
- Pulling is rewarded by movement: so stopping removes the reward.
- Fix the gear first: a front-clip harness and a fixed lead make the training far easier.
- Reward position, not just behavior: pay while your dog is beside you, not after they return.
- Every walk counts: one rushed walk a week can undo a lot of practice.
Why dogs pull
Walking pace is the root of it. Most dogs move faster than most people, so a loose lead means slowing down to a speed that feels unnatural. Add the fact that the world outside is full of smells, and the pull becomes the most reinforced behavior your dog performs all day.
Two other things often make it worse. Dogs who only get out once a day arrive at the door already fizzing, and dogs who have learned that tension on the lead predicts reaching the park will pull harder as you get closer. Neither is a character flaw. Both respond to training.
Get the gear right first
You cannot teach a skill while the equipment is fighting you.
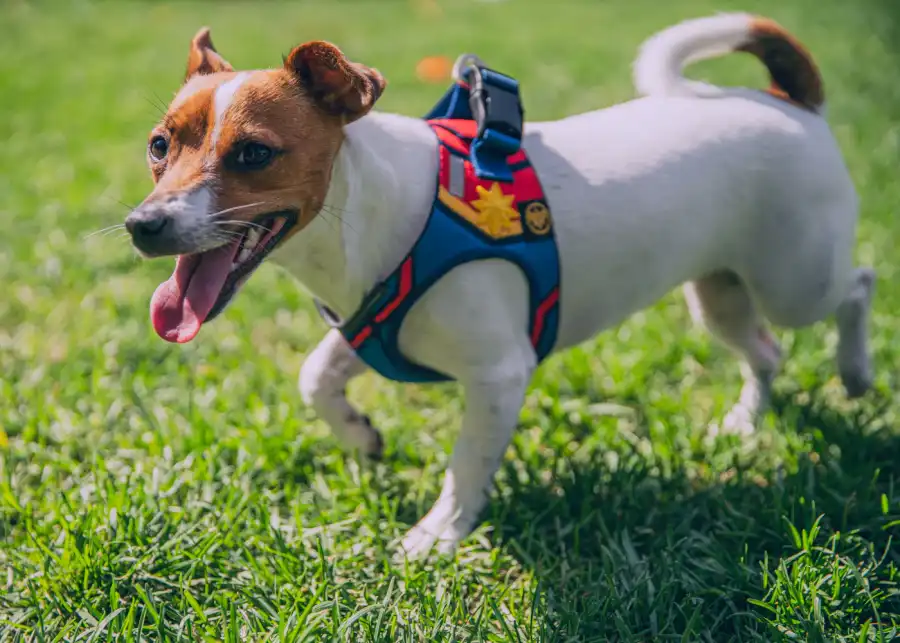
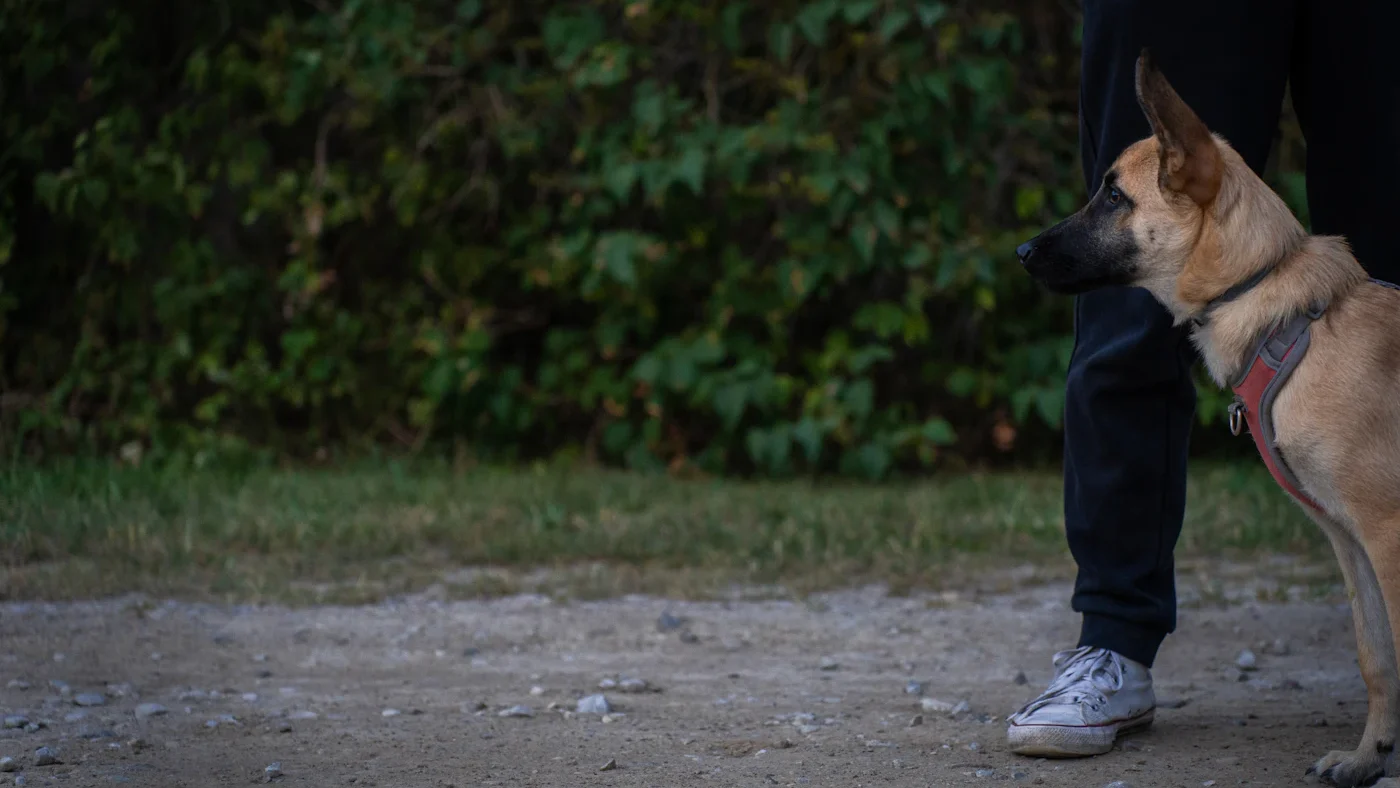
- A front-clip harness. The lead attaches at the chest, so forward pressure turns your dog gently sideways rather than letting them lean into it.
- A fixed lead of about six feet. Long enough for a natural walking position, short enough to stay predictable.
- A treat pouch. If rewards are hard to reach, your timing will be too slow to teach anything.
- Small, soft rewards. Your dog should swallow each one in a second so the session keeps moving.
Fit matters as much as the type. A harness that slips sideways or rubs will make walks unpleasant regardless of method. Our guide to dog harnesses and collars covers measuring and fit checks.
The method, step by step
Step 1: Start indoors
Put the harness and lead on in the hallway. Take three steps. If the lead stays loose, mark and reward at your side. Ten easy repetitions indoors teach more than twenty frustrating ones on a busy pavement.
Step 2: Reward the position, not the return
Deliver the treat beside your leg, at your dog’s head height, while they are in the position you want. If you always reward after your dog comes back from the end of the lead, you are paying for the round trip rather than for walking nicely.
Step 3: Stop when the lead tightens
The moment the lead goes tight, stop moving. Say nothing. Wait for any slack, whether your dog looks back, steps sideways or simply shifts their weight. Mark that, then walk on. Forward movement is the reward, and your dog controls whether it happens.
Step 4: Change direction
If stopping stalls completely, turn and walk the other way, calmly and without yanking. The lead loosens, your dog catches up, and you mark and reward as they arrive beside you. Repeat a few times and most dogs start checking where you are going.
Step 5: Add distractions on purpose
Once your dog can manage a quiet street, practice at a distance from the things that usually pull them: other dogs, a park entrance, a busy road. Stay far enough away that your dog can still eat and still hear you. That distance is your working range, and it shrinks over weeks.
A two-week practice plan
| Days | Where | Goal |
|---|---|---|
| 1 to 3 | Hallway and yard | Ten steps with a loose lead, several times a day |
| 4 to 6 | Quiet street at a quiet time | Two or three minutes of loose lead before the first stop |
| 7 to 10 | Same street, normal time of day | Recover quickly after each stop |
| 11 to 14 | Near one predictable distraction | Keep the lead loose while the distraction is visible at a distance |
If a walk goes badly, shorten it rather than pushing through. A five-minute walk your dog can succeed at is worth more than half an hour of dragging.
Plan the walk, not just the training
The route you choose does as much work as the method. A dog who meets three other dogs, a cyclist and a cat in the first two minutes is not going to practice anything useful. While you are building the skill, pick quieter streets and quieter times, even if that means a less interesting walk for a couple of weeks.
It also helps to separate the two jobs a walk does. Loose-lead practice is training and should be short. Letting your dog sniff at their own pace on a longer line in a safe green space is decompression, and it is what actually tires most dogs out. Trying to do both in the same twenty minutes tends to produce a frustrated dog and a frustrated owner.
If your dog is only getting out once a day, that walk carries an enormous amount of pressure. Adding a second short outing, or ten minutes of sniffing games in the yard, usually makes lead work noticeably easier because the dog arrives at the door less wound up.
How much of the walk should be training?
| Stage | Training portion | Rest of the walk |
|---|---|---|
| First week | Two or three minutes at the start | Let your dog sniff on a longer line where it is safe |
| Second week | Five minutes, split into two blocks | Sniffing and normal walking |
| Third week onwards | Ten minutes, broken up | Normal walking, with the same rules applied loosely |
Keeping the training block short and marked out means the rest of the walk stops being a failed lesson. Your dog gets a clear signal about when the rules are tight and when they can just be a dog.
Troubleshooting
- Your dog ignores food outdoors. The environment is too much. Move further from whatever is holding their attention, or practice closer to home.
- They walk nicely then explode near the park. Start rewarding earlier, well before the point where excitement takes over.
- Stopping does nothing. Use the direction change instead. Some dogs will stand at the end of a tight lead indefinitely.
- Progress then collapse. Usually a missed week or a change in who walks the dog. Everyone needs to use the same rules.
What not to do
Jerking the lead, lifting a dog onto their back legs, or using equipment designed to cause discomfort may stop pulling in the moment. The risk is that your dog links that discomfort with whatever they were looking at, which is often another dog or a person. That is how lead reactivity starts, and it is one reason veterinary behavior organizations advise against aversive equipment and methods (AVSAB position statement on humane dog training). If your dog already lunges or barks on the lead, work with a qualified trainer and read our guide to dog behavior before adding any new tool.
Frequently asked questions
Will a harness make my dog pull more?
A back-clip harness can make pulling more comfortable for the dog. A front-clip harness redirects forward pressure to the side, which usually reduces it while you train.
How long does loose-lead walking take to fix?
Expect weeks rather than days, because most dogs have practiced pulling for a long time. Progress is fastest when every single walk follows the same rules.
Should I use a no-pull or prong collar?
Tools that work by causing discomfort carry a risk of fear and can worsen reactivity. Most veterinary behavior bodies advise against them. Speak to a qualified trainer before considering one.
What if my dog only pulls towards other dogs?
That is usually excitement or frustration rather than a lead skill problem. Work at a distance where your dog can still respond to you, and read our guide to dog behavior.
Can I practice loose-lead walking indoors?
Yes, and you should. A hallway is the easiest place in the world to get ten good steps, and easy repetitions are what build the habit.
Related reading: positive reinforcement dog training, daily dog exercise ideas and teaching a dog to come when called.
Final thoughts
Loose-lead walking is a habit, not a trick. Set the gear up so your dog cannot practice pulling comfortably, make sure walking beside you is the thing that gets paid, and keep the rules identical on every walk. For the next skill to build alongside it, see our guide to obedience training, or browse the dog training hub.